Your first tour in 10 minutes
A tour is a set of 360° images joined by hotspots, so a visitor can move from room to room in the browser. This guide takes you from an empty studio to a tour you can send as one link. You need at least one 360° image on your computer or phone. If you don't have one yet, start with Where do I get a 360° image? below.
1. Create a project
- Open the studio at prewalk.co/studio. It opens on Projects.
- Click + New project, type a name such as "Harbor View · show flat" and click Create project.
- A project is one page that holds your 360° tours, renders, photos, videos and floor plans. If you only have one tour to share, click Quick tour instead and skip to step 3.
2. Add a tour to the project
- In the project, find the Tours section and click + New tour.
- Name the tour after the space, not a room: "Show flat · 2-bed". One tour is one walkable space; each 360° image becomes a room, called a scene.
- Click Create and upload scenes. The tour editor opens.
3. Upload your 360° images
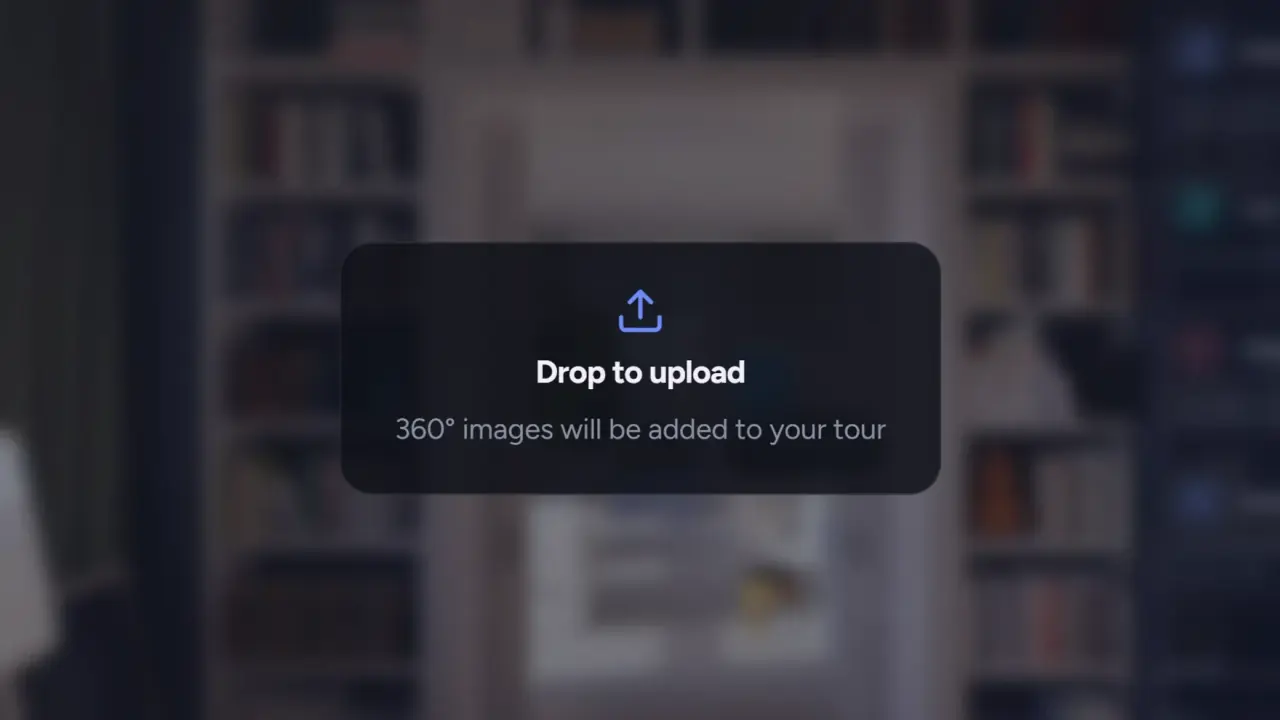
- Click Choose images, or drag the files onto the editor. You can select several at once.
- Accepted files are 2:1 equirectangular panoramas in JPG, PNG, TIFF or WebP. The width must be exactly twice the height; a cropped or "flat" export is rejected.
- Name your files before you upload. The file name becomes the scene name:
living-room.jpgbecomes "living room". You can rename a scene later by double-clicking it in the strip. - Scenes open as soon as they are ready. A Sharpening badge means full resolution is still on its way. You can keep working, or leave the page. The studio notifies you when the tour is ready to view.
4. Put the rooms in order
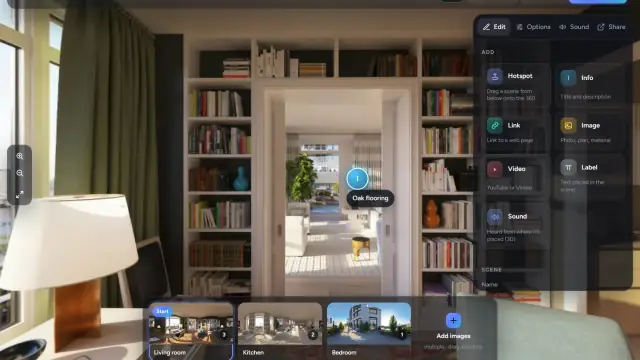
- The scene strip at the bottom shows every scene. Drag a scene left or right to reorder.
- The first scene is marked Start. Put the entrance or the best room first.
5. Link the rooms
- Open the scene you want to link from by clicking it in the strip.
- Drag the next room's scene from the strip onto the 360° view. Drop it on the floor, near the doorway that leads there. A hotspot lands exactly where you drop it.
- Hotspots are one-way. Open the next room and drop a hotspot back, so visitors can return.
- Repeat for every doorway. Drag a hotspot to move it, or to the trash to delete it. Undo brings it back.
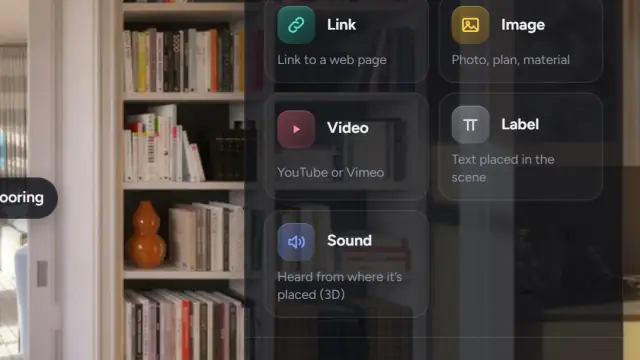
The full logic, the six hotspot shapes and the transition settings are in Linking rooms: hotspots, opening view and the start scene.
6. Set the opening view
- In each scene, turn the view to the direction visitors should face when they arrive.
- In the right panel, under Scene, click Save current view.
- The start scene's opening view is also the tour's cover image and the preview that appears when you share the link on WhatsApp or LinkedIn.
7. Preview
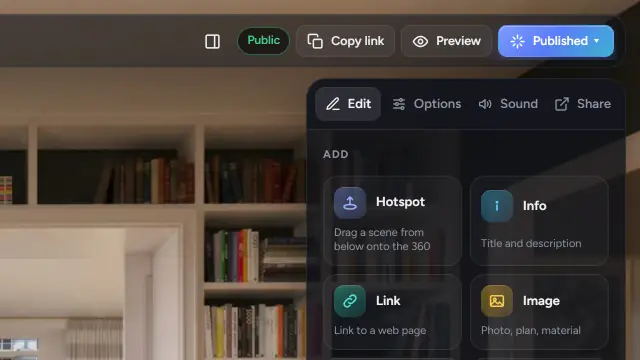
Click Preview in the top bar. The tour opens in a new tab exactly as visitors will see it.
8. Publish
- Click Publish in the top bar.
- Under Who can see this tour, choose one:
- Public: on your profile and in Explore. Anyone can find it.
- Link only: only people with the link. Never listed anywhere. This is the default for every new tour.
- Password: only people with the link and the password. Available on paid plans.
- Fill in the Title, a short Description, a Category, the Location and a few Tags.
- For a public tour, tick the rights statement. It confirms you have the right to publish these images. Then click Publish.
What each visibility does, and how to take a tour back to link-only, is in Public, link-only or password: what publishing does.
9. Share
Open the Share tab in the right panel:
- Tour link opens the player full screen. Copy it and paste it anywhere.
- Public post is the page with the description, comments and your profile. It appears once the tour is public.
- Embed on your website gives you the code for WordPress, Wix, Squarespace and plain HTML. See Embed a tour, a project or your portfolio on your website.
- QR code downloads a PNG or SVG for signs and business cards.
- Views shows how often the tour has been opened.
Common mistakes
- A hotspot into a room but none back. Visitors get stuck. Every doorway needs two.
- Publishing before saving the opening views. Visitors arrive facing a wall, and the cover shows the wrong direction.
- Uploading the camera app's "flat" or cropped export. Only the full 2:1 panorama is accepted.
- Naming the tour after one room. The tour is the whole flat; rooms are scenes.
Where to get a 360° image
- Real homes: How to shoot a home with a 360° camera
- With a phone: Can I make a 360° tour with my phone?
- Unbuilt projects: Export a 360° render from your render software