Export a 360° render from your render software
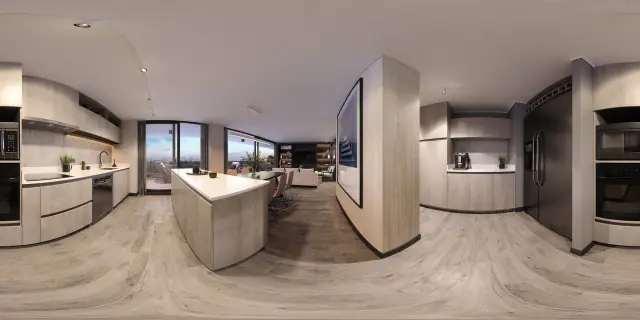
A 360° render is the same scene you already render, with the camera type changed. This guide covers the setting that matters in each program, the resolution to pick, and the stereo export for VR. The existing post How to get a 360° render made explains what a 360° render is; this one is the how.
The one setting that matters
Set the camera type to spherical (also called equirectangular or panoramic) and the output size to a 2:1 ratio: twice as wide as it is tall. Everything else, materials, lights, denoising, stays as it is. Prewalk accepts JPG, PNG, TIFF and WebP; the width must be exactly twice the height.
Choosing the resolution
| Plan | Maximum | Pixels |
|---|---|---|
| Free | 8K | 8192 × 4096 |
| Pro and above | 16K | 16384 × 8192 |
8K is sharp on phones and laptops. 16K pays off on large screens, in VR and when visitors zoom into details such as joinery and fabric. The post 8K or 16K: which resolution do you actually need? goes deeper. Files can be up to 1 GB each, so a 16K 8-bit TIFF is fine; a 16-bit uncompressed 16K stereo TIFF is not, so save that one compressed or as 8-bit.
Camera placement
- Height 1.5 to 1.6 m from the finished floor. Lower looks like a child's view; higher looks like a drone.
- Keep the camera perfectly level. There is no horizon correction after upload.
- Place it where a visitor would stand: inside the door, in the middle of the room, on the balcony. Each camera is one scene; you will link them later.
- Add a camera in hallways and at doorways that join two rooms, so the tour walks naturally.
Program by program
Menu names change between versions. Where this guide is not sure, it says so.
Blender (Cycles). Select the camera. In Camera properties, set Type to Panoramic and Panorama Type to Equirectangular. In Output properties set the resolution to 8192 × 4096 or 16384 × 8192 at 100%. Render with Cycles, which supports the panoramic camera.
3ds Max with V-Ray. In the V-Ray camera settings choose the Spherical panorama camera type, which sets the field of view to 360°. Set the output size to 2:1 in Render Setup.
3ds Max with Corona. On the Corona camera, set the Projection to Spherical. Set the output size to 2:1.
Lumion. Use the Panorama mode next to Photo and Movie. It renders a 2:1 equirectangular image and offers a stereo option.
Enscape. Use the Mono Panorama or Stereo Panorama button in the Enscape toolbar. The panorama resolution is set in the output settings. Export the panorama from Enscape's panorama gallery as an image file.
Twinmotion. In the Media tab create a Panorama, then export it. The output is a 2:1 equirectangular image; a stereo export is available.
D5 Render. Choose the Panorama output type when rendering an image.
Unreal Engine. Use the panoramic rendering option in the Movie Render Queue, or a 360° capture plugin, and check the seams in Prewalk before a client delivery.
For any other program: look for "spherical", "equirectangular", "panoramic" or "360" in the camera type or the render output type. If it exists, it produces what Prewalk needs.
Stereo for VR (Pro and above)
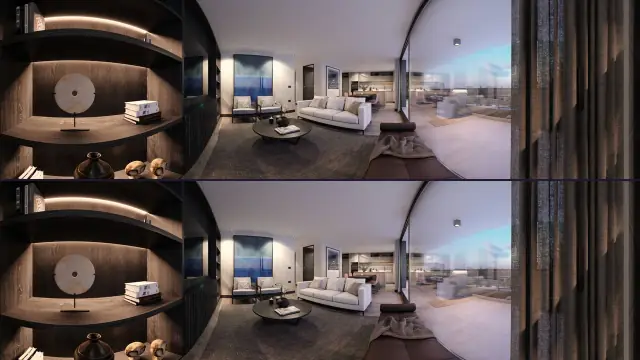
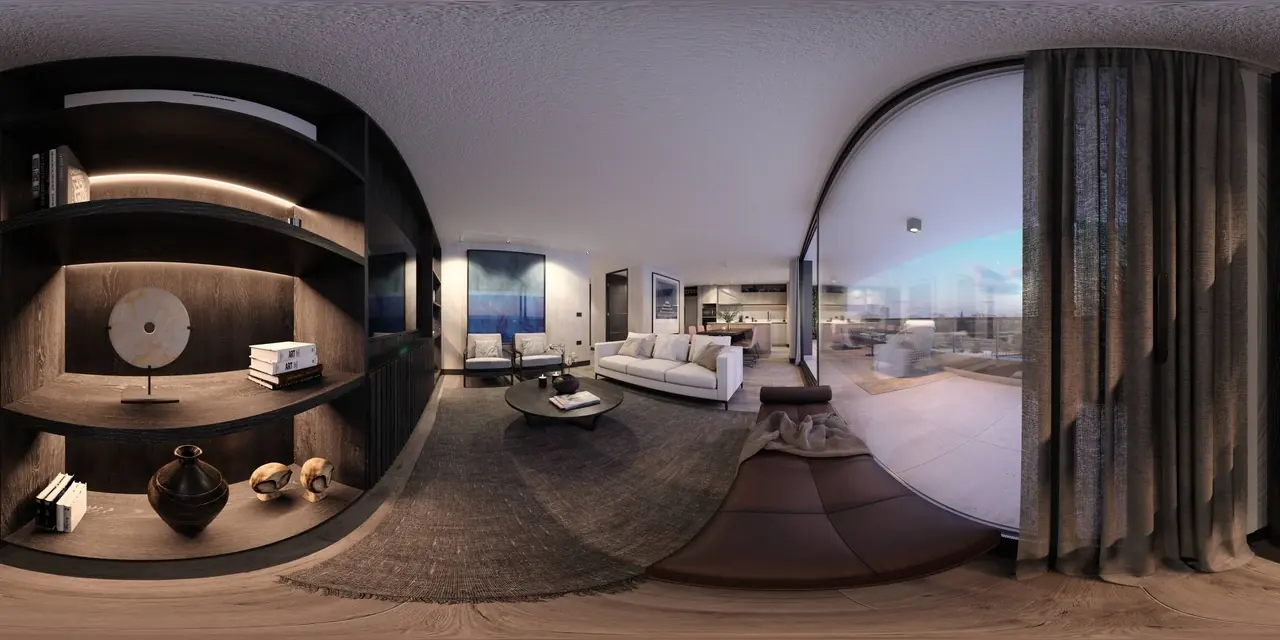
Regular (mono) renders appear flat in VR: both eyes see the same image. For real depth, render a top-bottom stereo panorama: two spheres stacked in one square image, 1:1, up to 16384 × 16384, left eye on top. Side-by-side stereo is not accepted. Read What is a stereo 360° render? for what it looks like in the headset.
Export settings
- Format: JPG at high quality for the smallest upload; PNG or TIFF when you want lossless. EXR and HDR are not accepted, so convert them first.
- Color: sRGB. Prewalk converts other color spaces to sRGB, but a render already in sRGB looks exactly like your preview.
- Bit depth: 8-bit is enough for the viewer. 16-bit is accepted in PNG and TIFF.
- Metadata: camera and location data are removed on upload, so there is nothing to strip beforehand.
Upload
Drop all renders into the tour at once. Scenes open as they are ready; a Sharpening badge means full resolution is still being prepared. Name the files after the rooms first: 03-master-bedroom.jpg becomes the scene name "03 master bedroom". Then follow Your first tour in 10 minutes.
Common mistakes
- Rendering a cube map (six faces) or a "little planet". Only equirectangular 2:1 is accepted.
- A 2:1 crop of a normal wide render. It has the ratio but not the sphere, and it looks warped in the viewer.
- Width not exactly twice the height, for example 8000 × 4096. The ratio check fails.
- Exporting side-by-side stereo. Prewalk needs top-bottom.
- A tilted camera. The horizon stays tilted in the tour and in VR.