Linking rooms: hotspots, opening view and the start scene
A hotspot is the ring on the floor that takes a visitor from one scene to the next. The studio makes adding one a single drag. The part nobody tells you is the logic: hotspots are one-way, the drop point matters, and the opening view you save is also the picture people see before they click.
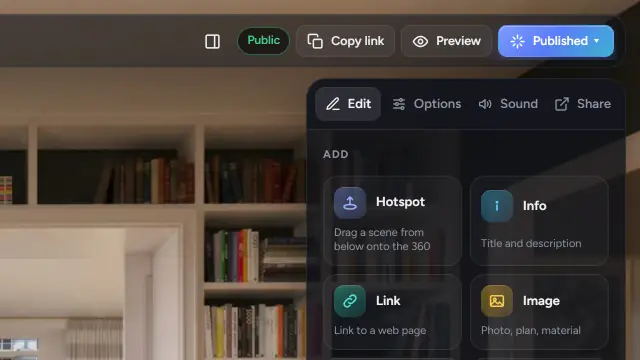
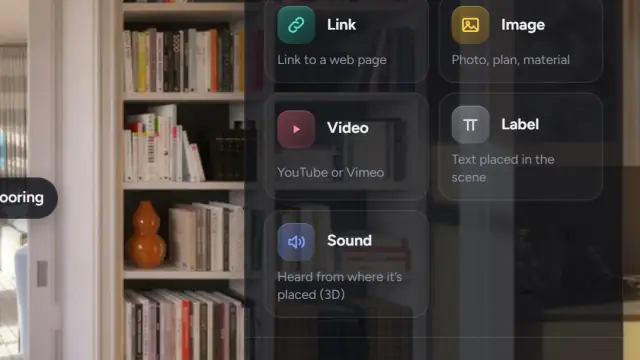
Add a hotspot
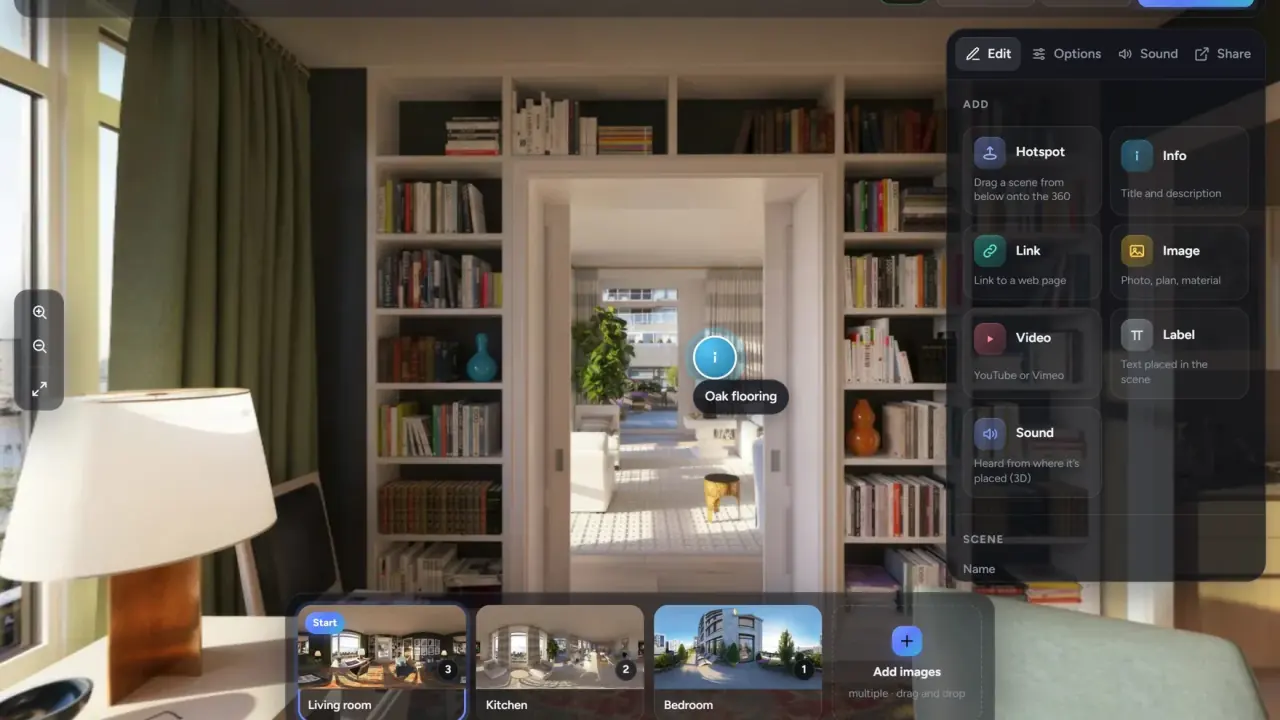
- In the scene strip at the bottom, click the scene you are linking from. It opens in the 360° view.
- Drag the scene you are linking to from the strip onto the 360° view. Drop it where the visitor would walk: on the floor, at the doorway. The hotspot lands exactly where you drop it, and a toast confirms "Hotspot → kitchen".
- Hotspots need at least two ready scenes. A scene can't link to itself.
You can also click Hotspot in the palette and then click on the 360° view.
Hotspots are one-way
A hotspot from the living room to the kitchen does not create one back. Open the kitchen, and drop the living room scene at the doorway you came through. Every doorway needs two hotspots, one in each scene. The hotspot card shows Target scene and a Go to target scene → link, the quickest way to hop over and add the return.
Where to drop
- On the floor, not on the wall. Visitors look for rings at their feet.
- At the doorway, or a step inside it. That is the direction they are walking, and the transition turns toward the hotspot before it moves.
- One hotspot per doorway: a corridor with four doors gets four.
- Keep hotspots out of the opening view's center, so the first thing a visitor sees is the room, not a ring.
Move, change or delete
- Move: drag the marker on the 360° view. The card shows its position.
- Shape for one hotspot: in the hotspot card, choose a Shape. "Tour setting" follows the Options tab; any other choice overrides it for this hotspot only.
- Delete: drag the hotspot to the trash, or select it and press Delete. Undo brings it back. Deleting a scene also deletes the hotspots that lead to it.
The six shapes
In the Options tab, under Hotspots, pick the Look for the whole tour:
| Shape | Use it when |
|---|---|
| Floor ring | Default. Reads as "stand here" in every room. |
| Floor arrow | The doorway is far away and you want to show the direction. |
| Double arrow | Long corridors and stairs. |
| Thumbnail | Visitors should see the next room before they click. Good for sales offices. |
| Label | You want the room name on the hotspot: "Kitchen", "Terrace". |
| Dot | Minimal, for renders where a ring would compete with the design. |
Your icon lets you upload a PNG of your own (shown in shared tours on Pro and above). Size and Pulse animation apply to all hotspots. Preview the target on hover shows a small image of the next room when the pointer rests on a hotspot.
The four transitions
Under Scene transition choose how the move looks:
- Walk (default): the view turns toward the hotspot, moves forward, and the next scene opens. Walk distance sets how far the camera travels before the switch.
- Zoom: pushes into the hotspot.
- Crossfade: one scene dissolves into the next.
- Fade to black: a short blackout between scenes. Use it for jumps that are not walkable, such as floor to floor.
Turn toward the hotspot first is on by default. Preload the target on hover loads the next scene in the background so it opens sharp.
Opening view
Each scene has a saved direction that visitors face when they arrive by a link or from the strip. Turn the view to the best angle and click Save current view under Scene in the right panel. The card shows "saved: 42°, -5°". Reset clears it.
Two things depend on the start scene's opening view:
- The cover. The tour's cover image, and the preview card on WhatsApp and LinkedIn, is a flat picture taken from the start scene in that direction. Change the start scene or its opening view and the cover updates by itself.
- The arrival. When a visitor walks through a hotspot, they arrive facing the direction they walked, not the saved opening view. There is no separate arrival angle per hotspot, so the drop point is what decides the arrival.
The start scene
The first scene in the strip is marked Start. Drag another scene to the first position to change it. The start scene is where every link opens, so make it the entrance or the room that sells the home.
North and the compass
Turn to north in one scene and click Set north, then Apply to all scenes if every image was taken facing the same way. The compass appears in shared tours on Pro and above.
Common mistakes
- No hotspot back. The most common one, and the one visitors notice first.
- Hotspots on walls or in the sky. Keep them on the floor.
- Saving the opening view with a hotspot in the middle of the frame.
- Using "Fade to black" for every doorway. Save it for jumps that are not walkable.