Info points, labels and links inside a tour
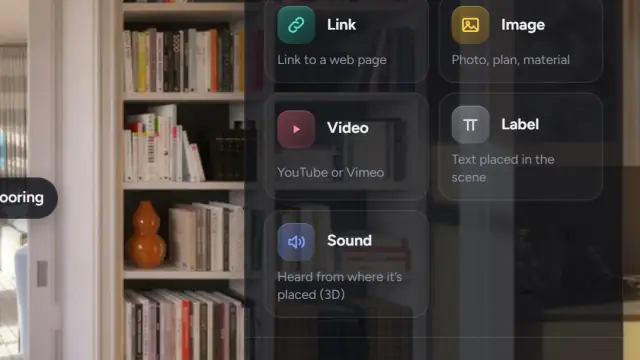
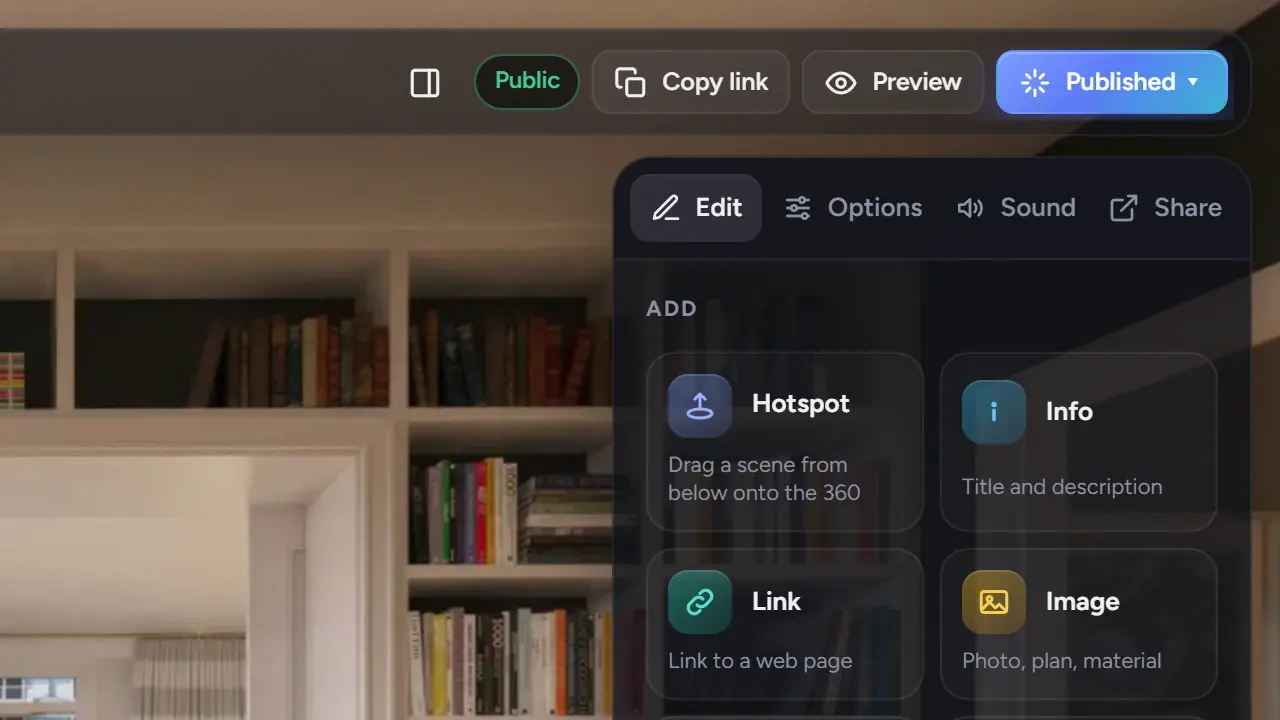
Hotspots move visitors between rooms. The other items in the palette add information to a room: a note on a material, a link to the listing page, a floor plan image, a fly-through video, or a short text floating in the scene. This guide covers what each one is for and how to place it.
The palette
In the Edit tab, next to Hotspot:
| Item | What it shows | In shared tours |
|---|---|---|
| Info | A title and a description | Every plan |
| Link | A link to a web page, opens in a new tab | Every plan |
| Label | Short text placed in the scene | Every plan |
| Image | A picture: plan, material, detail photo | Pro and above |
| Video | A YouTube or Vimeo video | Pro and above |
Image and Video carry a Pro mark on the Free plan. You can place and preview them in the editor; they appear in shared tours on Pro and above.
Place an item
- Click the item in the palette. The editor says "Click on the 360 to place Info".
- Click where it belongs in the scene. The marker appears there and its card opens in the right panel.
- Or drag the item from the palette straight onto the 360° view.
Move it by dragging the marker. Delete it by dragging to the trash or pressing Delete; Undo brings it back. The Scene panel lists everything placed in the current scene under Items in this scene.
Fill in the card
- Info: a Title and a Description ("Material, size, note…"). Keep the description to two or three sentences; long text is hard to read over a 360° view.
- Link: a Title and the Address. Visitors see the title and an "Open ↗" button.
- Label: the Text. Two to four words.
- Image: Choose image to upload a JPG, PNG, TIFF or WebP, plus a title. The image opens large when clicked.
- Video: the YouTube or Vimeo address of the video. Other addresses are not recognized.
Preview card shows what visitors will see.
Info point or label?
- A label is for naming: "Master bedroom", "Oak flooring", "North terrace". It is always visible, so keep it short and use few of them.
- An info point is for explaining: it hides the text behind an icon until the visitor wants it. Use it for materials, dimensions, options, the story of a room.
- A link is for sending the visitor somewhere: the listing on a portal, the developer's brochure, a booking page. One per tour is usually enough.
A room with two labels and one info point reads well. A room with eight labels reads like a diagram.
Images and video inside a tour
Image cards are the way to show a floor plan or a material board without leaving the tour. Video cards embed a YouTube or Vimeo video over the scene. In VR, info and image cards open in the headset; videos and links wait until the visitor leaves VR, and the player says so.
Videos you upload as files belong in a project's Videos box, not in the tour. See Add videos to a project.
Sound (Pro and above)
The Sound tab adds background music to groups of scenes and 3D sounds placed at a spot in the room, such as a fireplace or a fountain. They play in shared tours on Pro and above; on Free you can set them up and listen in the editor.
Common mistakes
- Placing items in the middle of the opening view. Keep the first look at the room clean.
- A label with a full sentence. Labels are names; use an info point for sentences.
- An info point in every room with the same text. Say it once, in the description.
- Linking to the listing from every scene. One link, near the entrance, is enough.
- Uploading a 360° panorama as an Image card. The card expects a flat picture.