Prepare renders, photos and floor plans for a project page
A project page puts your tours next to the rest of the work: renders, photographs, detail shots, videos and floor plans. A tour is optional; the rest lives in three boxes of the project editor. This guide covers the image boxes. Videos have their own guide.
What a project page shows
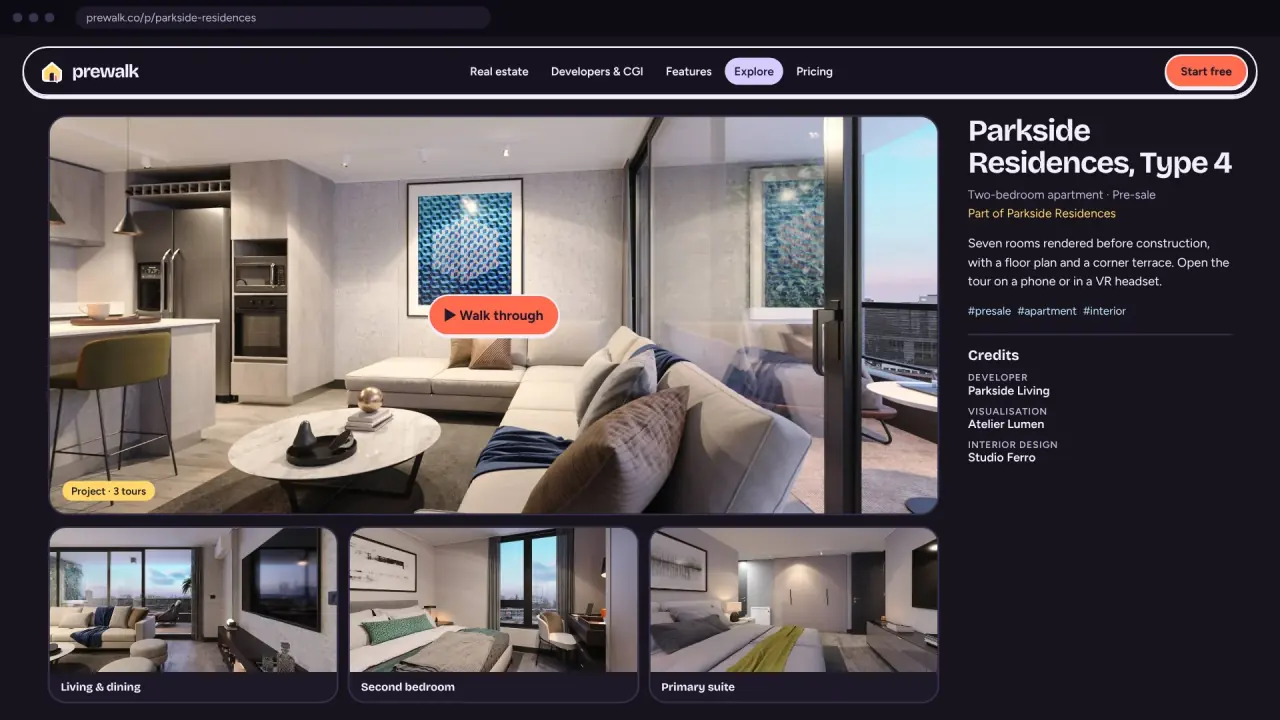
In this order: the cover, the title, the description and the owner; then Tours, Gallery, Videos and Floor plans; then Credits. Visitors open tours inside the page with Start tour, click gallery images to see them large, and click a pin on the floor plan to open that room in the tour.
Gallery: formats and sizes
| Accepted | |
|---|---|
| Formats | JPG, PNG, TIFF, WebP |
| Minimum | 1,200 px on the long edge |
| Maximum | 50 MB and 100 megapixels per file |
| Not accepted | HEIC, RAW. iPhone photos convert to JPG in the browser during upload |
Prewalk makes a web version up to 3,840 px on the long edge and a thumbnail. Location (GPS) and camera data are removed. The original is kept privately so a plan change or a pipeline update can regenerate the web versions.
Each plan has two image limits: per project and in total across the account. The Gallery heading shows both, for example "4 / 10 in this project · 9 / 30 on your plan". Floor plans count as images.
Order, cover, caption
- Order is display order. Drag images to arrange them. Put the hero render first.
- Cover. Click ★ Use as cover on an image. Until you pick one, the cover is the first tour's opening view; without a tour, the first image. The cover is what Explore, your profile, feeds and the WhatsApp preview show.
- Caption and alt text. Click ✎ on an image. The caption shows under the image on the page. The alt text describes the image for screen readers and for search engines; it is not shown. Both take up to 200 characters.
Choosing images
- Three to eight strong images beat twenty similar ones. A visitor who wants more will walk the tour.
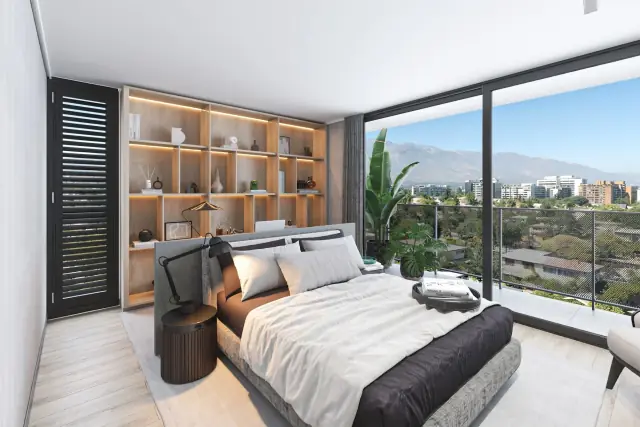
- Mix scales: one exterior, two or three interiors, one or two details (material, joinery, a view).
- Export at the long edge 2,400 to 3,840 px, sRGB, JPG at high quality. Larger files only take longer to upload.
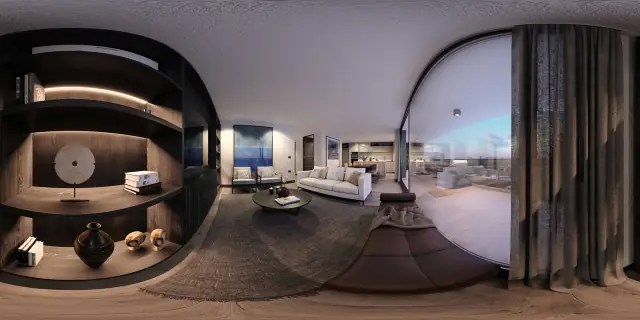
- Do not upload a 360° panorama to the Gallery. It shows as a stretched strip. Panoramas go into the tour.
Floor plans
- In Floor plans click to upload a plan. Give it a label such as "Ground floor" or "Type B · 2+1". Up to 10 plans per project.
- Click on a room in the plan. A pin appears. Type the room name, then pick the tour and the scene the pin should open.
- Repeat for each room, up to 50 pins per plan. Pins without a room name are not saved; the status line tells you.
A visitor who clicks a pin sees that room's 360° view. Prewalk does not measure anything and does not calculate areas; if the plan image has dimensions printed on it, they are your content and stay as drawn.
Preparing the plan image
- A clean line drawing with room labels works best. Remove the title block, the north arrow clutter and the revision table.
- PNG with few colors. Prewalk keeps it lossless up to 4,096 px on the long edge.
- At least 1,200 px wide; 2,000 to 3,000 px is comfortable to pin on.
- One plan per floor. Several floors are several plans with their own labels.
Details
The Details box holds the description (up to 5,000 characters), the category (required to publish), the location, up to ten tags and the project's address. Write a title, description and tags that get found explains what to put there.
Common mistakes
- Forgetting the cover. The page shows the tour's opening view, which is often a doorway.
- A floor plan exported from CAD with a white title block and tiny rooms. Crop to the plan before uploading.
- Pins pointing at the wrong scene, because scenes were named after files such as "IMG_0231". Rename scenes in the tour first.
- Captions that repeat the title. Say what the visitor is looking at: "Kitchen, oak veneer and quartz", not "Harbor View".