Using a 360° tour in pre-sale
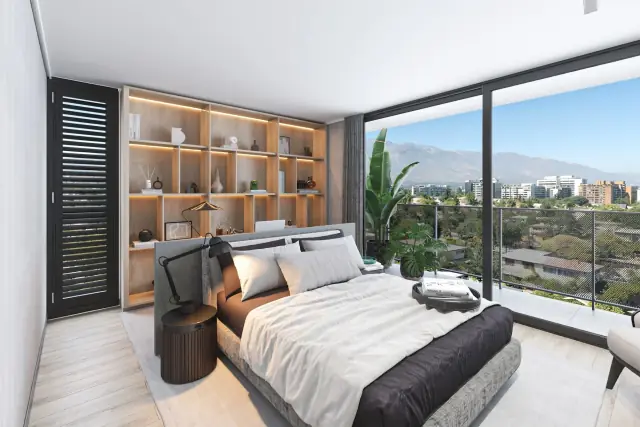
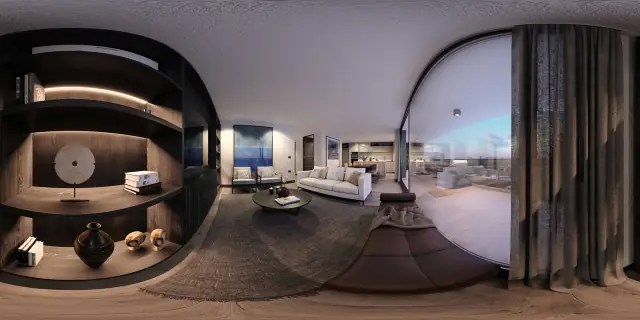
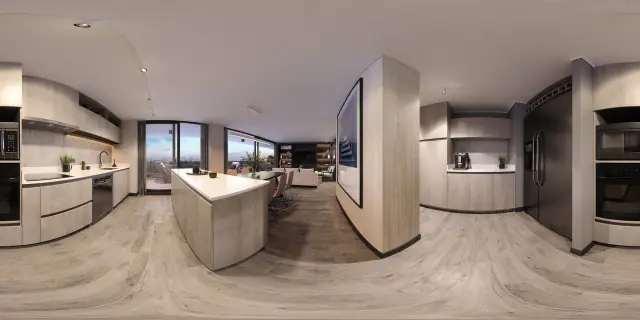
In a pre-sale project, the apartment a buyer is considering often doesn't exist yet — it's a set of architectural renders. A 360° tour turns those renders into something a buyer can walk through: step from the entrance into the living room, look toward the kitchen, walk out onto the balcony and see the view direction the render was set up to show.
This is different from looking at a handful of static renders on a brochure or a website. A static image shows one angle chosen in advance; a walkable tour lets the buyer choose where to look next, which tends to build more confidence in a space they can't physically visit yet.
In practice, this shows up in two places: on a tablet at the sales office, where a buyer sits with an agent and walks through the unit and the shared spaces together, and in the project's online listing through its share link, where a buyer can explore on their own before ever visiting the site.
Because the tour is shared with a single link and runs in a browser, there's nothing for the sales office or the buyer to install — the tablet just opens the link like any webpage.
On Prewalk, tours, renders and floor plans sit together on one project page: buyers click a pin on the plan to step into that room’s 360° view.